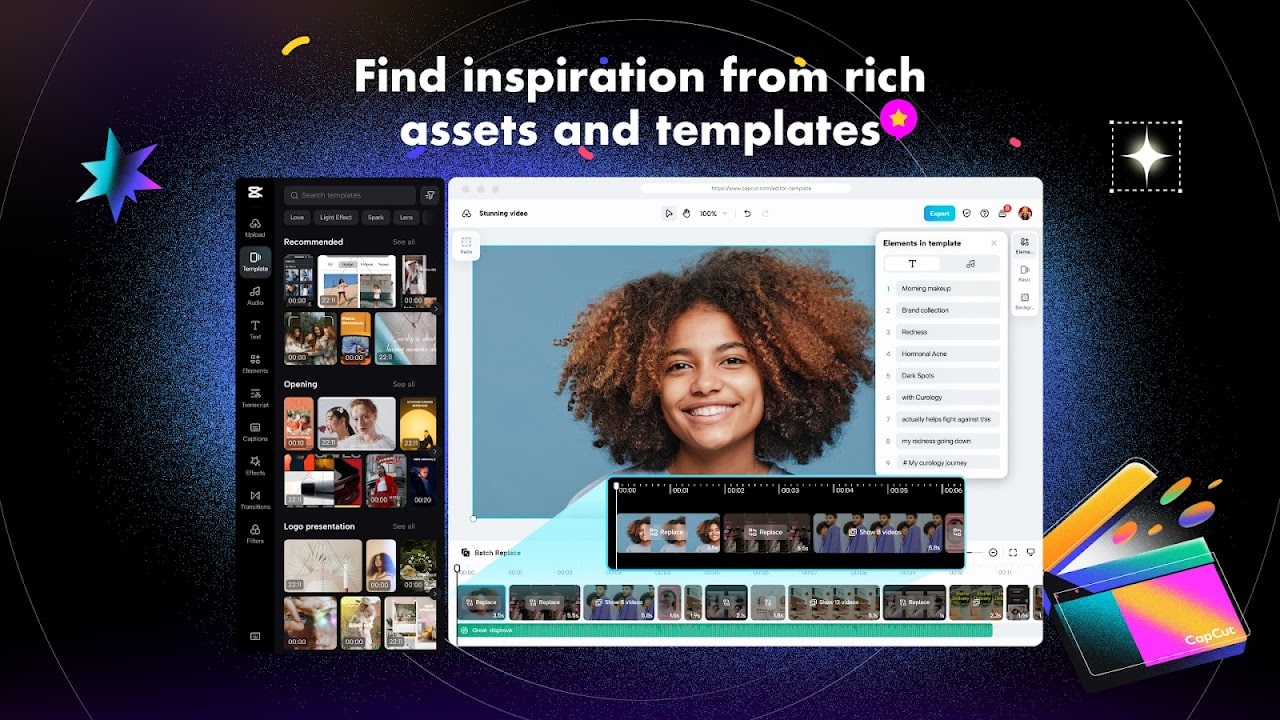
If you’re just stepping into the world of video editing, CapCut is one of the easiest and most powerful apps to start with. It’s free, user-friendly, and packed with features that rival even some professional software. Whether you’re making TikToks, YouTube Shorts, or just editing clips for fun, here’s how to learn CapCut in just 10 minutes.

1. Download and Open CapCut
First, download CapCut from the App Store or Google Play. Once installed, open the app and tap on “New Project.” You’ll be asked to choose a video or image from your gallery. Select your media and tap “Add.”
2. Basic Editing Tools
At the bottom of the screen, you’ll see the timeline and all the editing tools. Here are the essentials:
- Split – Cut your clip into parts by selecting it and tapping “Split.”
- Delete – Tap on any part of the video and press “Delete” to remove it.
- Speed – Adjust how fast or slow your clip plays.
- Volume – Mute or change the sound level of the original video.
3. Add Music and Sound Effects
Tap “Audio” to add background music, sound effects, or even a voiceover. CapCut has a built-in library, or you can upload your own.
4. Text and Captions
Tap “Text” > “Add Text” to insert subtitles, titles, or callouts. Customize the font, color, and animation to match your style.
5. Filters and Effects
Click “Effects” to add visual flair—like retro vibes, motion blur, or glitch transitions. Use “Filters” to instantly change the tone of your video with one tap.
6. Transitions
To create smooth cuts between clips, tap the small white square between two clips on the timeline. Choose from dozens of animated transitions.
7. Exporting Your Video
When you’re happy with your edit, tap the export icon in the top right corner. Choose the resolution and frame rate (the default is usually fine), and export your video to your device.
Final Tip
Don’t be afraid to explore! CapCut is intuitive, and most features can be learned by experimenting. In just 10 minutes, you’ll have the basics down—and with practice, you’ll be creating pro-level edits in no time.